As some of you know, I went to a Demo this morning at a local craft store. Although I'd already got some distress inks and used them on few projects, I hadn't fully appreciated how versatile they can be. The only problem is I now have not only a Promarker habit but a Distress Ink one too!!!
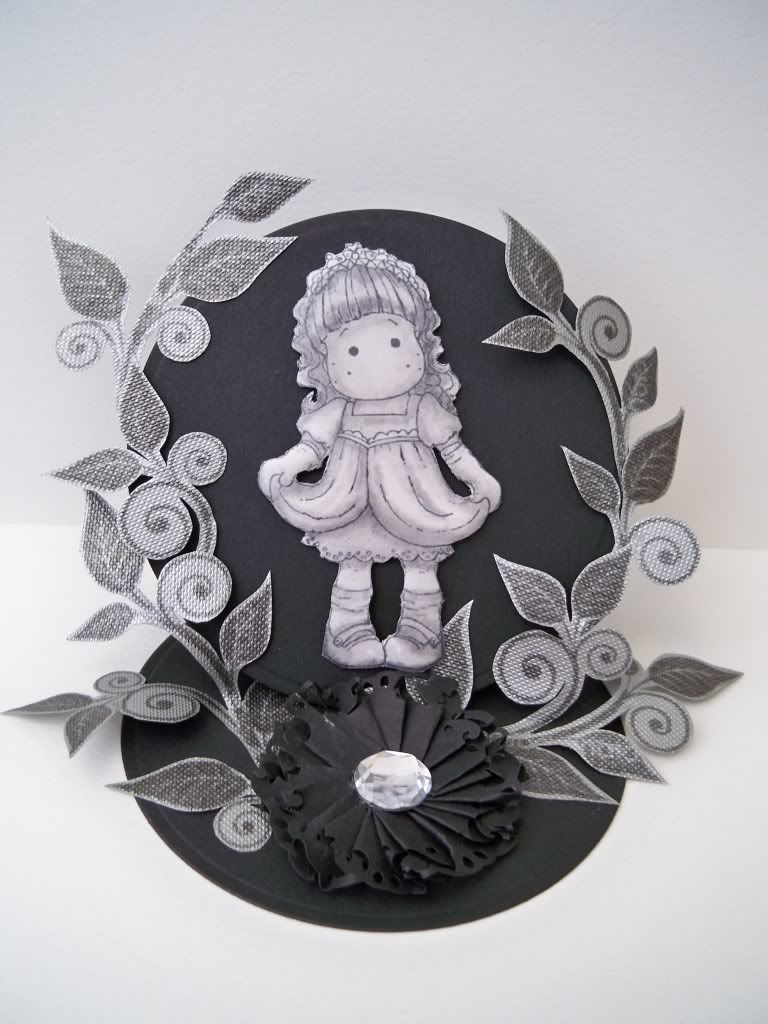
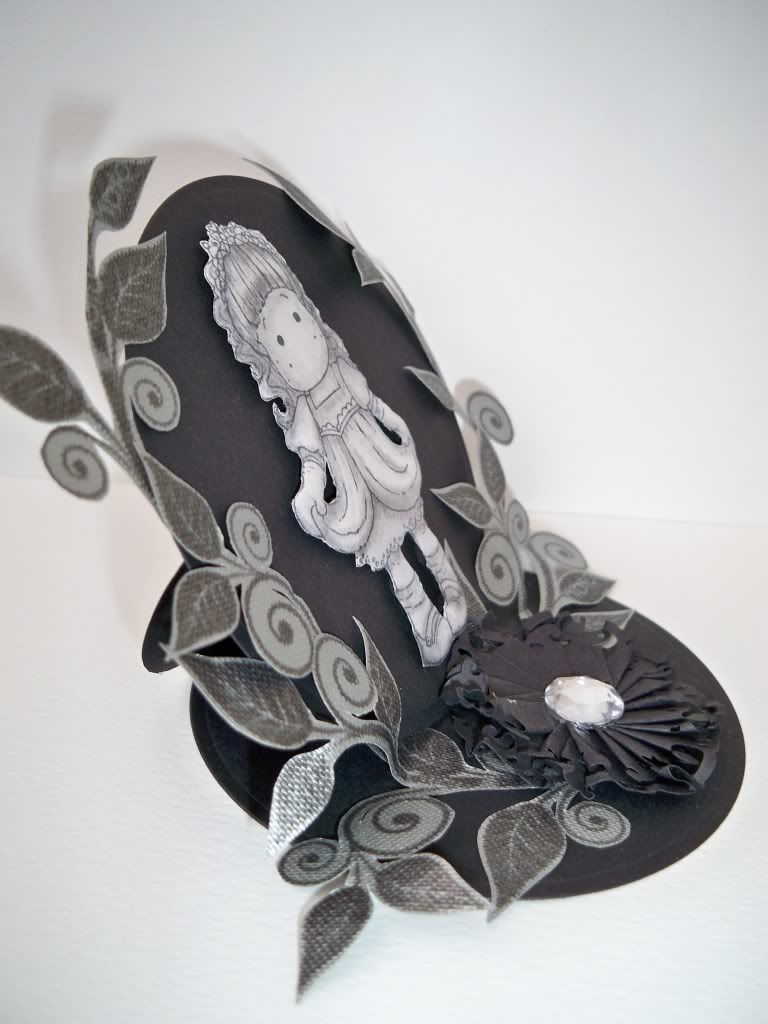
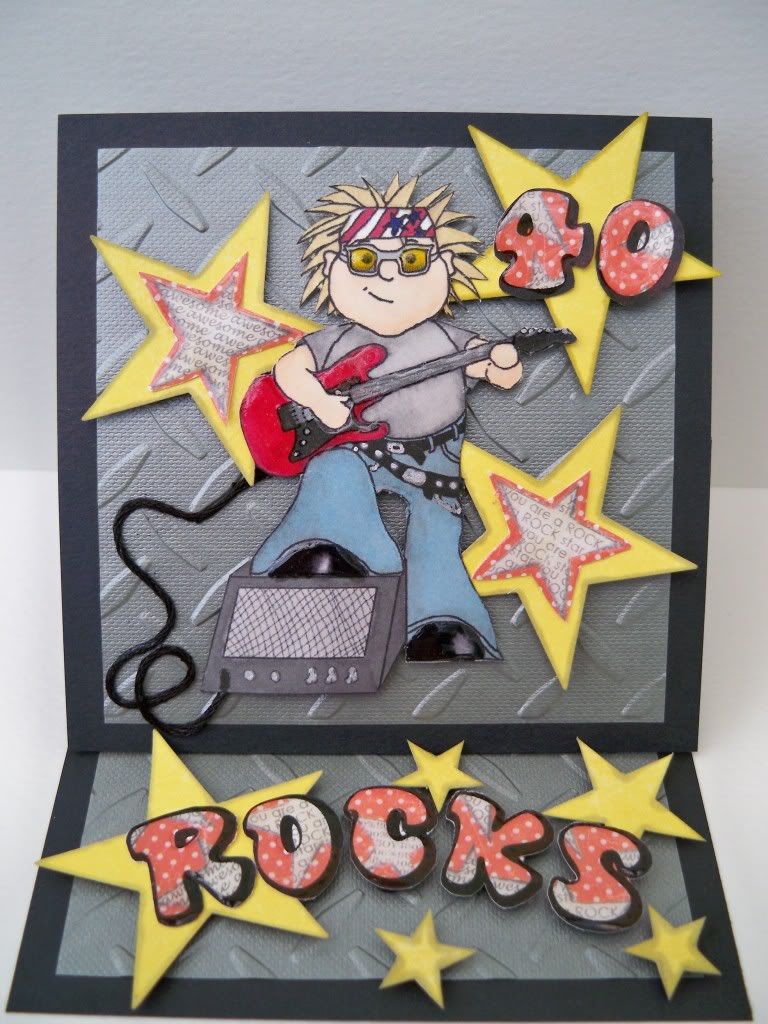
The fabulous Lindsay Mason was demonstrating Ranger products and I can now thank her for making me a fair bit poorer financially, but a whole lot richer creatively! I learnt loads of new techniques and gleaned loads of wonderful tips. I was so keen to make something that I came home and made this card.
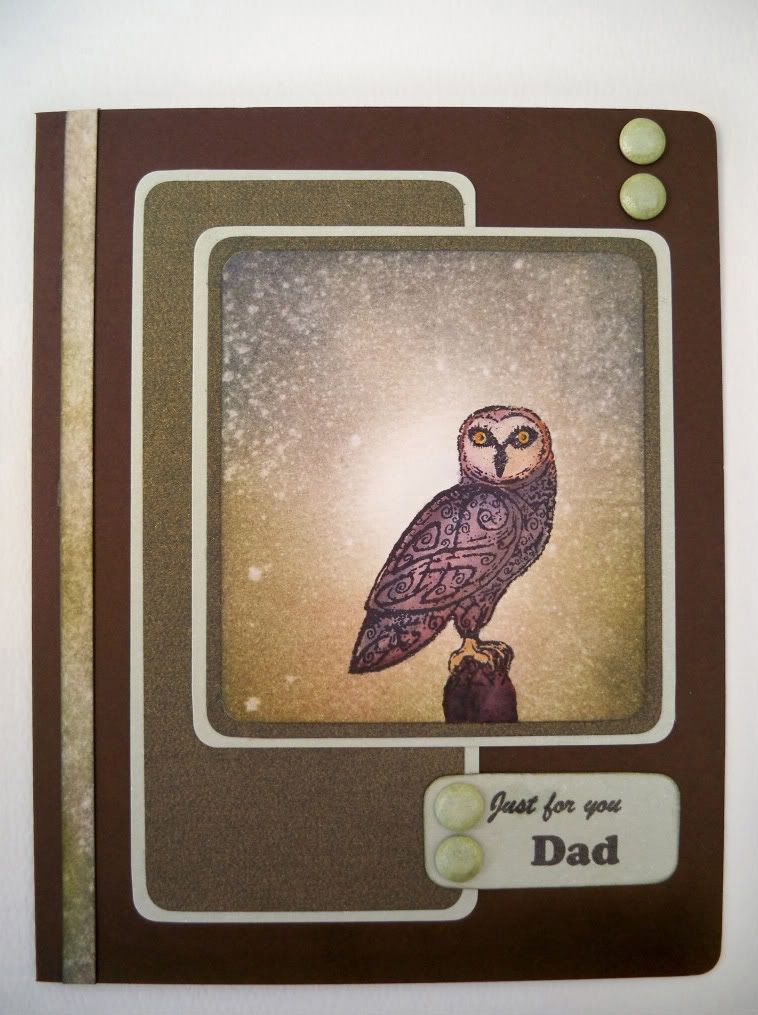
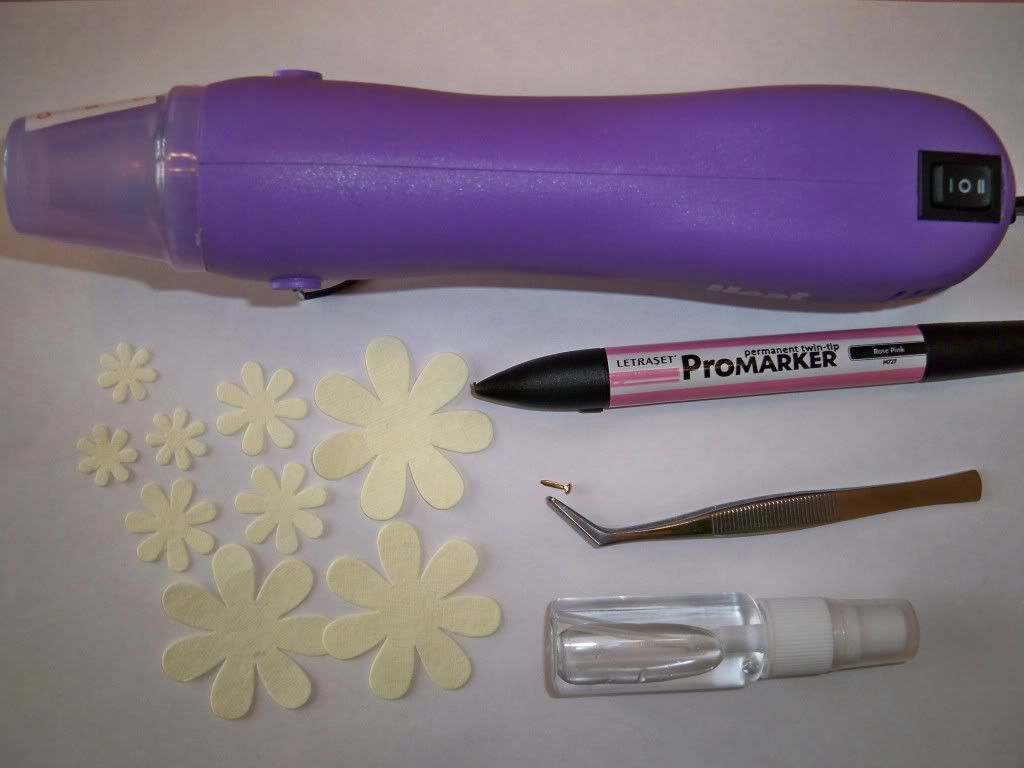
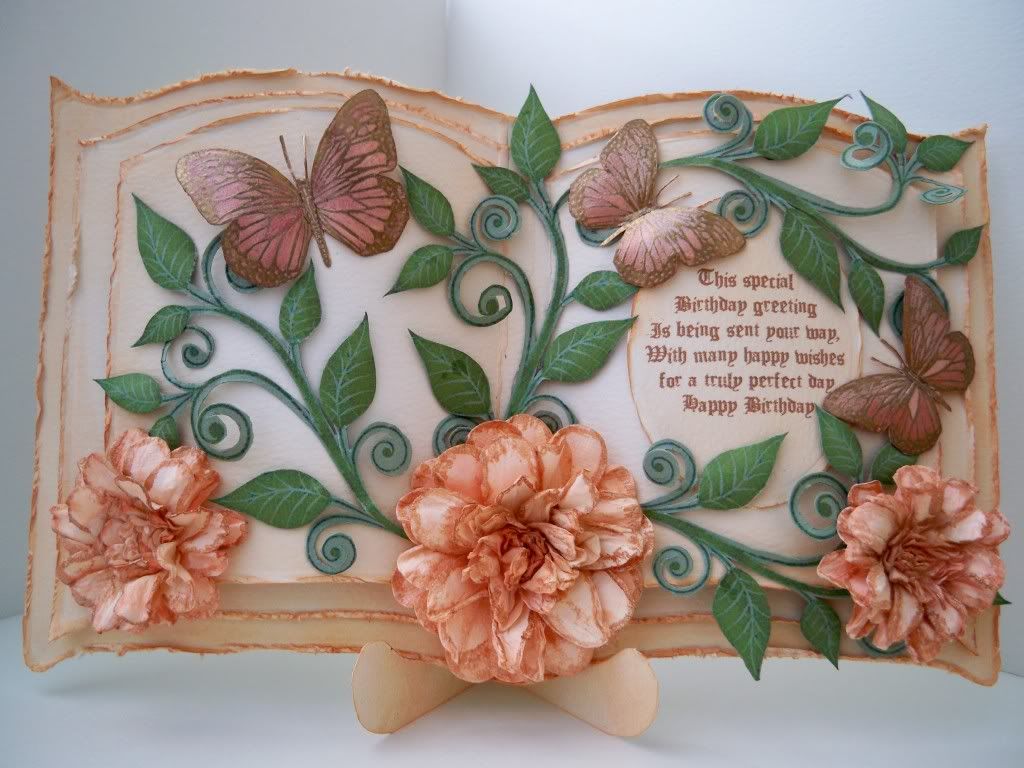
The background that the image is stamped onto was created using Distress Inks which have then been sprayed with water and blotted with tissues. I've then stamped the owl and coloured it using Distress Inks. The image has then been matted and layered. The Card Candy has been coloured with Promarkers.
Tools
Purple Cows Guillotine
Mister Bottle
X-cut corner punch
Tim Holtz Blender
Waterbrush
Tissues
Materials
Cardstock & Papers - The Papermill
Tim Holtz Distress Inks (Chipped Sapphire, Broken China, Victorian Velvet, Forest Moss, Spiced Marmalade, Brown Corduroy)
Swirly Bird Stamps - Personal Impressions
Anita's Tacky Glue
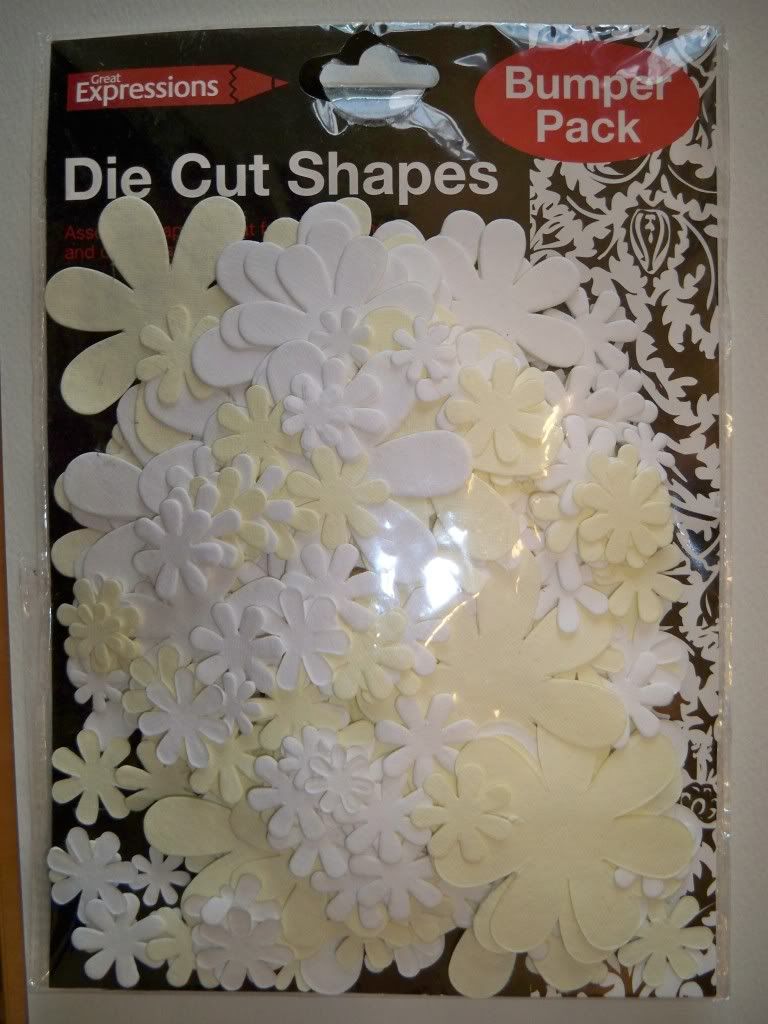
Card Candy - Craftwork Cards
Promarkers (Marsh Green)
I'd like to enter this card into the following challenges:
The Pink Stamper - Father's Day
Pear Tree Designs - sketch
Crafty Catz Challenge - the boyz are back
Passion for Promarkers - anything goes
A blog about Mixed Media, Paper Crafts, Altered Art and bit of card making thrown in for good measure. You will also find the odd tutorial and giveaway.
Sunday, 30 May 2010
Friday, 28 May 2010
Princess Tilda in Black & White
I bought a few back issues of The Craft Stamper Magazine last week and in one of them there was an article about colouring in Black and White. I was really inspired by the article and decided to have a play. This is what I've come up with.
I've coloured Tilda using Promarkers and the blender pen. She's then been cut out and given some dimension by running an embossing tool round the edges to make them curl. She's then been adhered to the card using black foam pads. I've made the flower and vine leaves using this tutorial from What a Beautiful Mess.
Tools
Decoupage scissors
Spellbinder Nestabilites Large Circles
Sizzix Bigshot
X-cut border punch
Paper Crimper
Purple Cows Guillotine
Materials
Black & White card from stash
Black & Silver paper from stash
Promarkers
Diamantes - from Poundland
I'd like to enter this card into the following challenges:
Passion for Promarkers - anything goes
Magical Crafts Fortnightly Challenge - black, white and one other colour (black, white & silver)
Cute Card Thursday - no DP
The Secret Crafter Saturday Challenge - no patterned paper
Sew Many Challenges - anything goes
Pixie Dust Studio Challenge - round and round ( circle easel card, swirly circles on the vines)
Charisma Cardz Challenges - Going round in circles
Choccy's MSE Challenge - make a flower
Kaboodle Doddles - make a monochromatic card
Totally Gorjuss - bling it on (diamante in the centre of the flower)
Crafty Cardmakers - inside out
Wednesday, 26 May 2010
Paper Chrysanthemum Tutorial
I've been asked by quite a few people where in Poundland I found the flowers I've been using on my recent cards. To clear things up I haven't bought the flowers, but have made them using these flowers bought from Poundland:
I've also received a few requests for a tutorial to make the paper Chrysanthemums that I used on my Tilda Tent Card. I've never done a tutorial before, so if this one needs tweaking or altering in anyway, please do feel free to contact me.
Before you start, gather your materials and tools. You will need a small brad, paper flower die cuts (I've used the ones pictured above, but you could use any punches or die cuts that you have, and pretty much any medium to heavy weight paper, a mister spray bottle filled with water, colouring materials, tweezers and a heat gun.
Decide upon the size of the flower you wish create and select your flowers accordingly. My example shows a large flower which needs 4 large flowers, 3 medium and 3 small. A smaller flower would only require 4 medium petals and 3 small petals.( I've just noticed that I've only laid out 3 large petals, but you will need 4).
If you are going to colour the flower to co-ordinate with your project now is the time to do so. I've used Promarkers, but you can use inks or watercolours. Once the flowers have been coloured you need to secure them with the brad. They should look something like this:
Now take the mister bottle and spray the flowers. Then simply lift each layer and scrunch and slightly twist each flower.
It should resemble this once you've finished.
Finally, hold the flower carefully with the tweezers and give it a blast with the heat gun. Carefully curl and peel back each petal individually - if it dries into a shape or position that you don't like then simply re-wet the paper. Also, be careful not to hold the gun in one place for too long as the paper will burn.
Here's the end result, one paper Chrysanthemum ready to use and decorate as you please.
Saturday, 22 May 2010
Princess Tilda Tent Card
It's my friends' DD 1st Birthday this weekend and I wanted to make her a cute girly card. I decided to try out a tent card - it was a lot easier than I thought it would be, so I'd guess that I will be making a few more of these.
I made the card using this tutorial. Tilda has been coloured with Promarkers and I've used Glossy Accents on her shoes and 3D glitter glue on her tiara and the lace trim on her dress. The gloves and petticoat were coloured with a white gel pen. The flowers were handmade and have been coloured with Promarkers. The hatpins were made using my new pins from China and a selection of beads taken from necklaces and bracelets picked up in the Primark sale.
Unfortunately, the pearlescent pink card wasn't double sided. As I wanted to decorate the back of the card and the inside was also going to be on show, I had to use a double layer of card. Hopefully it doesn't look too bulky.
Materials
Pink Pearlescent Cardstock
Ivory Pearlescent Cardstock
Papermainia Rose Garden
Magnolia Tilda Princess Stamp
Jump Rings
Flowers
Princess Charm
Glossy Accents
Glitter Glue
Promarkers
White Gel Pen
Pearls
Ribbon
Tools
Bigshot
Spellbinders Nestabilites - Large Ovals and Scallops
Pliers
Martha Stewart Scoreboard
Xyron Sticker Machine
I'd like to enter this card into the following challenges:
Charisma Cards - 3D
Simon Says Stamp - Tent card & charms
Pixie Dust Studio Pixie Challenge - Add a pearl
C.R.A.F.T Challenge - Celebrate/Birthdays
A Spoonful of Sugar - Cute & Girly
Papertake Weekly - Say it with flowers
Sew Many Challenges - Anything goes
Die Cut Dreams - Lace it up
Cupcake Craft Challenge - Blooms & Charms
I ♥ Promarkers - Make Your Own Flowers
Crafty Cardmakers - Inside Out
Tuesday, 18 May 2010
It's Only Rock n Roll 40th Birthday Card!
It's my friend's husbands 40th Birthday at the weekend. As he plays in a band I thought that this card would be appropriate. I have to say a huge thank you to the lovely Karen (aka Flourgirl) for this image and for helping my missing mojo to return. She made a fantastic card last week which sparked my imagination and led to a nice few hours crafting.
I made the card base using basic black cardstock and layered embossed silver paper onto it. I printed the words directly onto the Prima Papers and have used Glossy Accents to add dimension. I've also used glossy accents on the word stars, glasses, guitar and shoes - hopefully you can see that clearly from my third picture.The guitar lead is made from embroidery thread coloured with Promarkers.
Tools
Big Shot
Cuttlebug Embossing Folder - Diamond Plate
Martha Stewart Scoreboard
Fiskars Star Squeeze Punch
Materials
Prima Papers My Little Guy Collection
Black Card - Papermill
Silver Paper - Papermill
Glossy Accents
Image - from Karen
Docrafts Black Foam Pads
Embroidery Thread from stash
Promarkers
I'd like to enter this card into the following challenges:
The Crazy Challenge - Something new (My new Prima Papers)
Allsorts Challenge Blog - Birthdays
Stamp Something - Celebrate Something
Incy Wincy Designs - A Blast from the Past (take a look at that hair and those flairs!)
Shell's Images - Anything goes
Ooh-la-la-creations - Bright & Cheerful
The Corrosive Challenge - Easel Card
Rosie-D's Challenge - Easel Card
Side View
Close Up
I made the card base using basic black cardstock and layered embossed silver paper onto it. I printed the words directly onto the Prima Papers and have used Glossy Accents to add dimension. I've also used glossy accents on the word stars, glasses, guitar and shoes - hopefully you can see that clearly from my third picture.The guitar lead is made from embroidery thread coloured with Promarkers.
Tools
Big Shot
Cuttlebug Embossing Folder - Diamond Plate
Martha Stewart Scoreboard
Fiskars Star Squeeze Punch
Materials
Prima Papers My Little Guy Collection
Black Card - Papermill
Silver Paper - Papermill
Glossy Accents
Image - from Karen
Docrafts Black Foam Pads
Embroidery Thread from stash
Promarkers
I'd like to enter this card into the following challenges:
The Crazy Challenge - Something new (My new Prima Papers)
Allsorts Challenge Blog - Birthdays
Stamp Something - Celebrate Something
Incy Wincy Designs - A Blast from the Past (take a look at that hair and those flairs!)
Shell's Images - Anything goes
Ooh-la-la-creations - Bright & Cheerful
The Corrosive Challenge - Easel Card
Rosie-D's Challenge - Easel Card
Sunday, 16 May 2010
Bookatrix Butterfly & Blooms Birthday Card
Finally my missing mojo has returned. Not sure where or why my mojo went, but it totally disappeared! I sat and stared at card blanks, stamps and pretty papers for two hours and created nothing but frustration. So I took some time out, went to visit a fellow crafter and bingo it's returned and hopefully will be here to stay (it needs to, as I have loads of cards to make this week for birthdays).
This is the card I've made for my SIL's Birthday. It took a little time as I've stamped, heat embossed and painted the butterflies with pearlescent paints. The flowers are handmade and I've also handcut the vines. Due to a lack of planning, I had to make the stand for the Bookatrix. Fingers crossed that she likes it!
Materials
Green & Cream Cardstock - The Papermill
Tim Holtz Distressing Inks
Assorted Die-Cut Flowers - Poundland
Brads - from stash
Perfect Pearls
Pearlescent Paints - from Oyster Stamps
Vine Leaf Digi Stamp from here
Butterfly Stamps from EJ Craft Designs
Versamark Ink
Heat It Up Gold Embossing Powder
Sentiment - computer generated
Create & Craft Micro Foam Pads
Tools
Glittergirls Bookatrix Embossing Board
Tim Holtz Distressing Tool
Tim Holtz Blender Tool
Heat Embossing Tool
Bigshot
Spellbinders Oval Nestabilities
I'd like to enter this card into the following challenges:
Sir Stampalot Challenge - Butterflys and Blooms
Dare you to digi stamp Friday - Anything goes
Cute Card Thursday - Someone Special
YNS Challenges - Cut it out & pop it up
Meljens Designs - Flowers & Blooms
This is the card I've made for my SIL's Birthday. It took a little time as I've stamped, heat embossed and painted the butterflies with pearlescent paints. The flowers are handmade and I've also handcut the vines. Due to a lack of planning, I had to make the stand for the Bookatrix. Fingers crossed that she likes it!
Side View
Materials
Green & Cream Cardstock - The Papermill
Tim Holtz Distressing Inks
Assorted Die-Cut Flowers - Poundland
Brads - from stash
Perfect Pearls
Pearlescent Paints - from Oyster Stamps
Vine Leaf Digi Stamp from here
Butterfly Stamps from EJ Craft Designs
Versamark Ink
Heat It Up Gold Embossing Powder
Sentiment - computer generated
Create & Craft Micro Foam Pads
Tools
Glittergirls Bookatrix Embossing Board
Tim Holtz Distressing Tool
Tim Holtz Blender Tool
Heat Embossing Tool
Bigshot
Spellbinders Oval Nestabilities
I'd like to enter this card into the following challenges:
Sir Stampalot Challenge - Butterflys and Blooms
Dare you to digi stamp Friday - Anything goes
Cute Card Thursday - Someone Special
YNS Challenges - Cut it out & pop it up
Meljens Designs - Flowers & Blooms
Thursday, 6 May 2010
A Card for Rusty
Over on MSE the lovely Sarah (aka Rainmac) has set a "cheer - up" challenge to make a card for a fellow MSE'r Rusty who is currently in a lot of pain and and in hospital. Here's my card:
Subscribe to:
Posts (Atom)