Showing posts with label tutorial. Show all posts

Sunday, 14 October 2018

No Measure Spring Fold Christmas Card

I've been asked several times for a tutorial on this card. It's one of those cards that look really complicated but is super easy once you know how. I've used a pre-printed card base to save time with matting and layering, plus I really like the paper designs on the cardstock.

I've decided that I'm going to make a few of these to mail out to friends and family this Christmas. The card folds flat and should send as a standard letter.


To make this card I've used:
Anita's Tacky Glue

Instructions
  1. Lay the card flat with the white side showing.
  2. Fold the right edge of the card to the centre crease and then unfold.
  3. Take the top left corner and fold to the centre line.
  4. Repeat the above but with the bottom left corner.
  5. Push the centre fold in the triangle creases towards the middle, it should cause the remaining fold lines to crease.
  6. Lightly mark the top edge of the card at 3" and trim diagonally to the outer edge. See the diagram below. Repeat on the other side. Keep both of the waste triangles.
  7. Use the waste triangles as template to create two miiri board triangles.
  8. Glue the two patterned triangles to the base of the card, trim any excess as necessary.
  9. Adhere the spring part of the card to the base and attach the mirri board panels as shown.
  10. Decorate the card with the stickers, sentiment and image.
Let me know how you get on with these instructions and if you do make any cards following them, please feel free to share them with me.

Thanks for stopping by today.
Claire x

Monday, 14 September 2015

Octavia Frosted Winter Cushion Tutorial Part 1

Crikey get me posting two days in a row! As promised I'm back with a tutorial to make the cushion I showed you yesterday. I've decided to break the tutorial down into three parts due to the fact that it's quite a big project and I want to be able to give lots of hints and tips along the way. In addition I upgraded to Windows 10 and it has caused a problem with my printer which has delayed this tutorial slightly.

I've listed everything below that you need for the project, but the important things are obviously the CD or Digital Download, Reynolds Freezer Paper, Plain Fabric (I used cheap polycotton curtain lining), Bonda Web and a sewing machine or needle and thread. If you can't get the Freezer Paper you can substitute it with low tack spray glue and card but I found this didn't work as well for me. You could also use the pre prepared fabric sheets that can be bought easily online, although that would not be a cheap option.

Firstly cut a sheet of freezer paper to your required size (my printer takes A3 paper so I used that but if your printer can only do A4 that will be fine too, you'll just have to join your fabric or make a different shaped cushion).


Next take the curtain lining and press it flat, then cut so that it slightly overhangs the freezer paper. With the shiny plastic coated side of the paper facing upwards, lay the fabric over the paper and then starting from the centre of the fabric carefully rub the iron over the entire area. The fabric and paper should now be lightly bonded.


Next trim the fabric down to your paper size. I used a guillotine as it gives a nice neat edge with no frayed bits. If after trimming the fabric you have a problem with the fabric curling away on the corner re-iron that area and allow to cool. Alternatively you can use a very small piece of tape, but be aware that this area will not have any print.


It is important that there are no raggy edges as they will most likely snag in your printer. You are now ready to print onto your fabric. Place the fabric into the manual feed slot of your printer and then press print. Your print settings should be as shown in the picture below.


Once the fabric has printed you can carefully remove the paper and put it to oneside to use for the next panel (I used a single piece of freezer paper for 5 panels of fabric). Gently iron the printed fabric and then repeat the above process to create as many sheets as you need.


If you notice black smudges on the edges of your fabric, don't panic! Most of them will be removed when you cut the cushion to size and if you should happen to have any left they can easily be hidden with a bit of acrylic paint or some careful placement of lace or ribbon! We'll cover that in more depth if need in part three of this tutorial.

Hopefully I've not put you off and you'll join me for part 2 of this project where we will print and prepare the images and embellishments.

If you have any questions just ask and I'll do my best to answer them.

Thanks for stopping by.

Claire x

Friday, 23 November 2012

Exciting News & An A4 Paper Gift Bag Tutorial

Well some of you may already know my news, but for those of you who don't...... I've been asked to join the Crafty Ribbons DT as a project maker!!! :D  Sorry for not telling you all sooner, but I don't like to post unless I have something to show you and I've been mega busy lately with various projects and some much needed building work which has left little time for crafting :(

I'm being a bit cheeky with this weeks post as I'm using my project for not one, not two but three DT samples (see I told you time was tight!!). So if you're ready.....deep breath and ...... the challenge this week over at Crafty Ribbons is to use two ribbons we have a fabulous prize of          . The Polka Doodles Challenge is to use a die and the prize is a copy of Nikky Hall's fabulous Colour Therapy DVD . Finally it's also my turn to post over on the Studio 12 inspiration blog (I hope you've all remembered to enter this months giveaway, cos there's a fabby prize on offer!!!).

Anyway, after much thought, I decided that I'd make one of my little gift bags using a sheet of A4 paper! Which means that I've also killed four birds with one stone and finally got round to doing one of the long awaited tutorials that I promised  awhile back! Yay go me!!!

So here's the bag and below is a tutorial which I'm kinda hoping makes sense!!! If it doesn't give us a nudge (and be sure to leave a contact email) and I'll try to explain things a bit more clearly.


Now, you'll have to forgive the picture quality for the tutorial, but these photos were taken at night and with my old camera.

1. Take a piece of A4 decorative paper (I've printed mine from the Studio 12 Picknix Collection 2 - Gingerbread Twist) and score a line down the long edge at 1 1/2"


2. Then take an edging punch and with the white side facing punch a patterned edge.


3. Then fold along the score line.

4. Next take a mini cereal box and wrap the paper around it so that the outer edge meets the edge of the box exactly, lightly crease the corners to give you guide for scoring.


5. Score the creases you have marked (mine were at 3", 4 10/16", 7 1/2 and 9 2/16"). Wrap around the box to ensure that you get a neat edge. If there is a slight overhang simply trim to size.


6. Next trim the inside flap down so that it is about 1/2"


7. If you're going to ink the edges, now is the time to do it.


8. Wrap the paper around the box and glue the edge into place as shown. I tend to get the top edge as perfect as I can, hold in place with a clip and then slide the box down through the paper so that I can apply pressure to the glue and keep a perfect edge. Leave to dry thoroughly.


9. Once dry, slide the box towards the base of the bag leaving approximately 1/2" then fold as shown (it's the same as if you were wrapping a parcel).


10. Glue and leave to dry.


11. Remove the box and then pinch the top edges of the bag together to fold the side seams in half.


12. Fold the bag completely flat as shown and punch holes for handles or a threaded tie top. Decorate as you please.


Thanks for stopping by today.

Claire x

Materials:
Blue Happy Christmas Ribbon - Crafty Ribbons
White Loopy Ribbon - Crafty Ribbons
Studio 12 Picknix Collection 2 - Gingerbread Twist - Polkadoodles
 Marianne Creatables LR0125 die

I'd like to enter this project into the following challenges:
Make It Monday - Anything goes
Bunny Zoe's - Winter
Crafty Bloggers Network - Christmas Anything goes
Fashionista Challenge - Blue Christmas
Hooked On Craft - Christmas No Red/Green
Little Claire's - Christmas

Thursday, 5 July 2012

Finally One Of The Promised Tutorials!!! How To Manipulate Digital Images

Okay, so a few weeks back I promised a few peeps who took the time to leave me a comment or sent an email requesting a tutorial on digital manipulation of images that I'd do one. Finally, I've managed to find some time to do it! However, I'm cheating here a little, as I am doubling this tutorial up with my post over at Studio 12 . I figured that the majority of them wouldn't have seen this card before, so it's something "new" for them, and gives you guys the tutorial you wanted! Which ultimately leaves me with time to play and create more things :D On the subject of the Studio 12 Blog, have you paid us a visit yet? If not then you really should as there is a daily inspiration post from the DT and if that wasn't enough anyway, there's also some followers candy up for grabs!


So before we start I just want to make it clear that this MY way of doing things - it may not be the correct or easiest method, but it's one I found that works for me! The other thing is I was just going to do the tutorial for Craft Artist Professional, but figured that there are quite possibly a whole lot of people who don't have it. So, the tutorial is actually going to use Microsoft Paint and Word as almost everyone has that and if they don't then they can download Open Office for free and take the nuts and bolts of the tutorial and adapt it. If you need to know how to do this with CAP then email me and I'll explain as it's really simple and will take you seconds as opposed to minutes using this method!


Right lets go:


1. Insert the Studio 12 Picknix Collection 1 cd into your computer and run it.


2. Goto the Welcome Home Kit and select the Sweet Sugar Sprinkles from the Pantry.  Find the cake on a stand and click on it and it will automatically open in Windows Viewer. Then go to the menu bar and click on OPEN and select the Paint option from the menu.


3. The image should now have opened in PAINT as shown below (minus the words sample) and you are ready to start manipulating your image. Please remember you can click on the images in this post to enlarge them.


4. Ensure the HOME tab is selected at the top and then click on SELECT and choose RECTANGULAR SELECTION. Select the area that you want to discard (in this case it's the cake and dome) and hit the delete button. You will end up with this


5. Now the large white area above the cake stand isn't required so to remove you simply use the SELECT tool for the cake stand and then use the crop tool which is located next to the select tool and you should be left with just the stand. You can tidy up any lines that aren't required by using the eraser tool, but if you're careful when you do step 4 you shouldn't need to do this.


6. Use the SELECT tool again and copy the cake stand. Then open a Word document and click paste. Then hover above the image and right click, select - WRAP TEXT, BEHIND TEXT you will now be able to move the stand anywhere on the page. Simply re-size the stand by grabbing the bottom corner with your mouse.

7. Next you are going to add the cakes. So click on the cake you want, it will open in Windows Viewer, then right click and copy the image. Go to your word document and click paste. Then hover above the image and right click, select - WRAP TEXT, BEHIND TEXT this will enable you to move the images anywhere on the page. Re-size as detailed above. Repeat this step as many times as is needed to build your picture.


8. You should end up with something that looks like this:


9. I would normally GROUP the images together at this stage, so that I can move them around and resize them as desired. To do this, simply hold the shift key down and click on each element that you want to be able to move as one unit, for example the centre cake stand with lots of cupcakes on. Then right click and go to group. The images will now act as single unit. Now all that's left to do is to resize and position as desired, as some text or a sentiment from the CD and hit the print button. You can then trim to fit your card base and add any glitter or embellishments that you require.

I hope this makes sense and will help you to get more out of your CD. Feel free to email me if you get stuck. Please do let me know if you make anything using this tutorial as I'd love to pop across and see what you've been upto.

Thanks for reading.

Claire x
Wednesday, 26 May 2010

Paper Chrysanthemum Tutorial

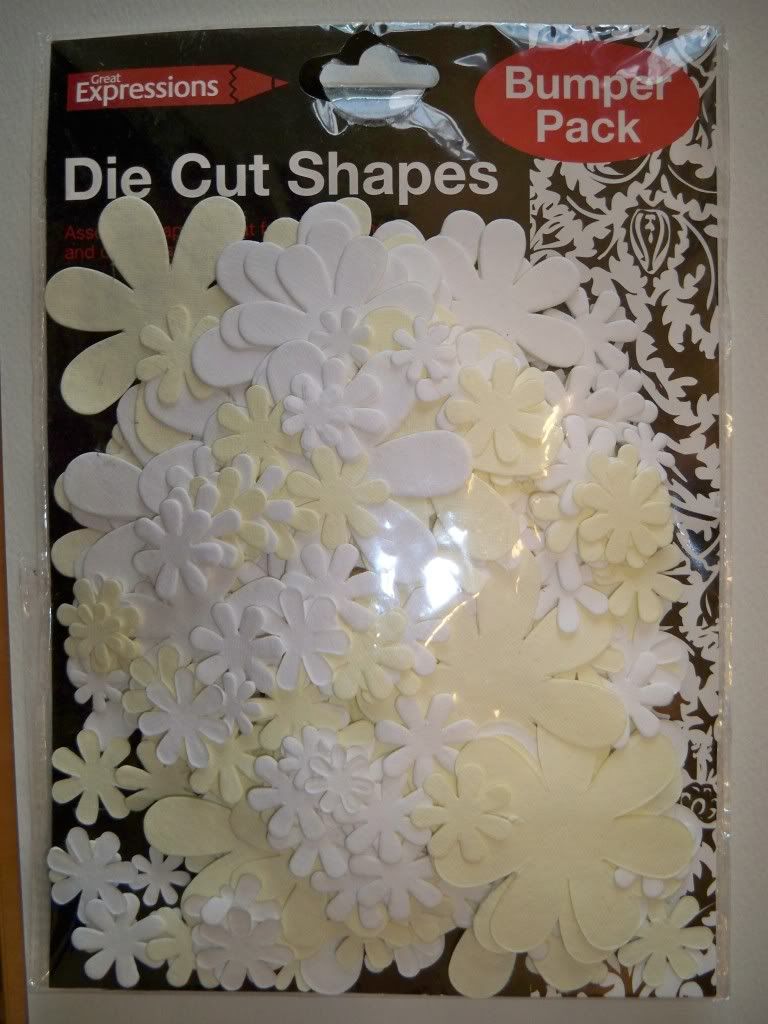
I've been asked by quite a few people where in Poundland I found the flowers I've been using on my recent cards. To clear things up I haven't bought the flowers, but have made them using these flowers bought from Poundland:

I've also received a few requests for a tutorial to make the paper Chrysanthemums that I used on my Tilda Tent Card. I've never done a tutorial before, so if this one needs tweaking or altering in anyway, please do feel free to contact me.

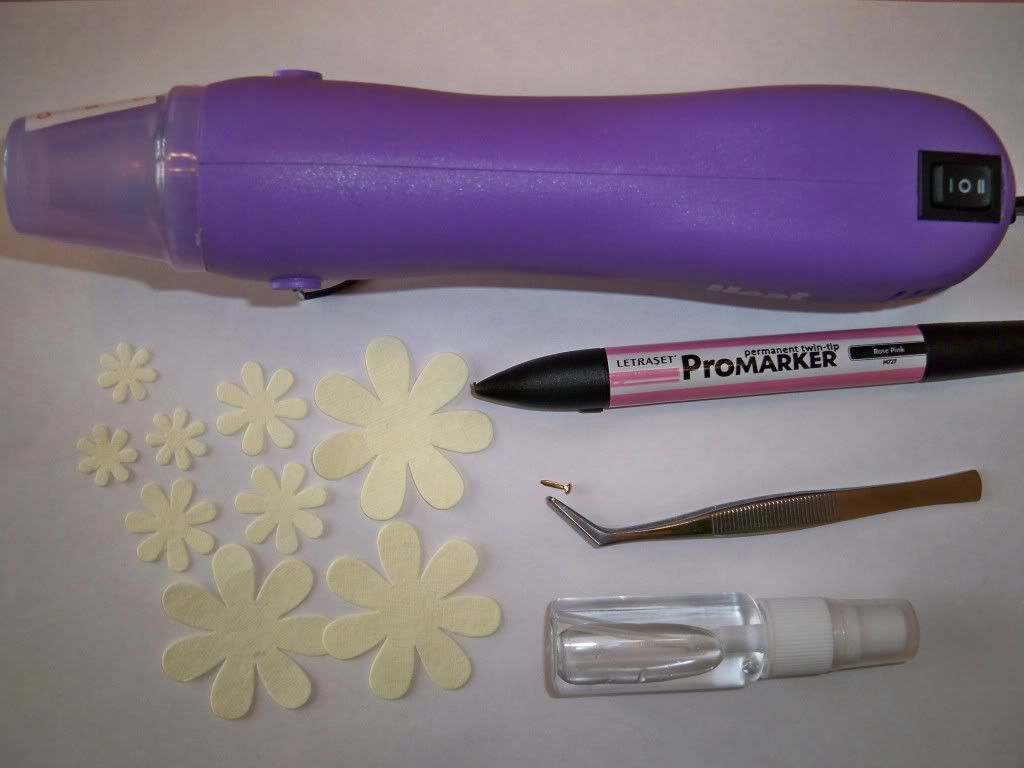
Before you start, gather your materials and tools. You will need a small brad, paper flower die cuts (I've used the ones pictured above, but you could use any punches or die cuts that you have, and pretty much any medium to heavy weight paper, a mister spray bottle filled with water, colouring materials, tweezers and a heat gun.


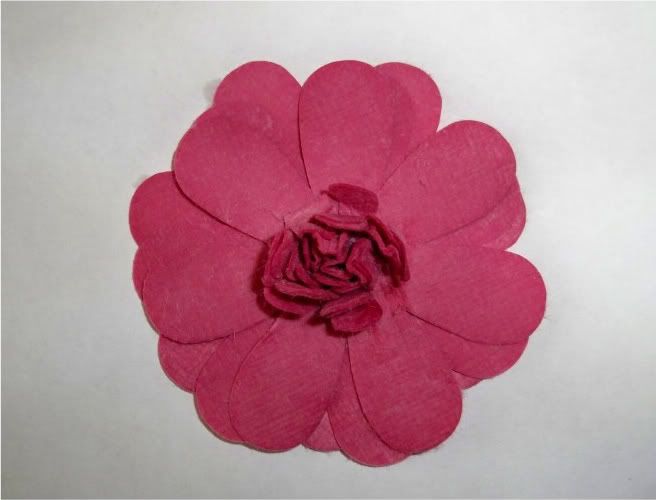
Decide upon the  size of the flower you wish create and select your flowers accordingly. My example shows a large flower which needs 4 large flowers, 3 medium and 3 small. A smaller flower would only require 4 medium petals and 3 small petals.( I've just noticed that I've only laid out 3 large petals, but you will need 4).

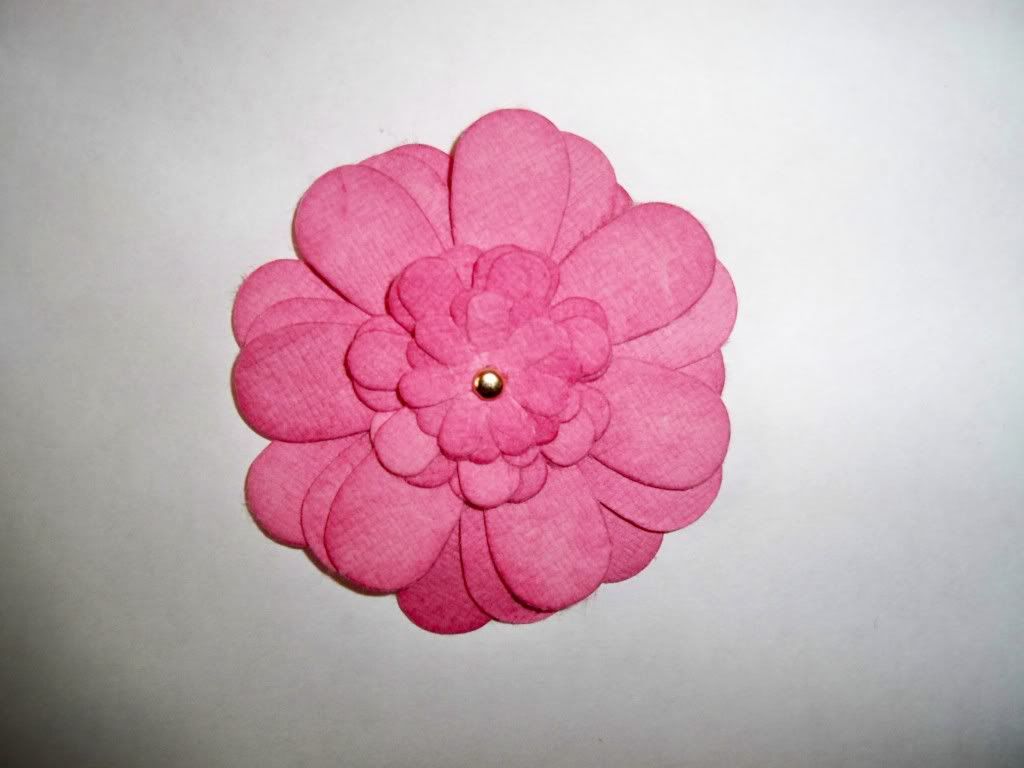
If you are going to colour the flower to co-ordinate with your project now is the time to do so. I've used Promarkers, but you can use inks or watercolours. Once the flowers have been coloured you need to secure them with the brad. They should look something like this:


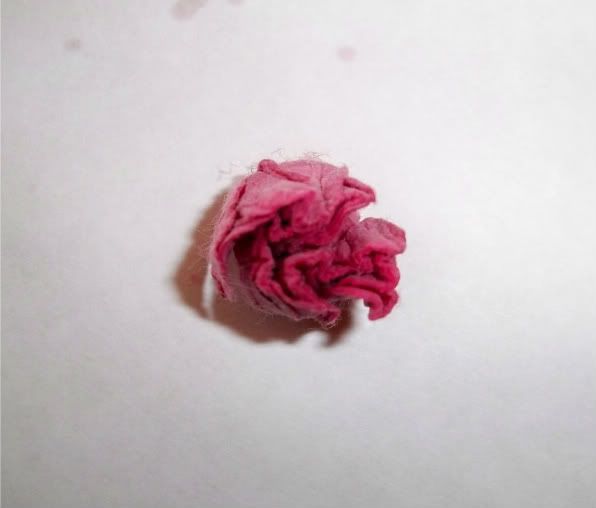
Now take the mister bottle and spray the flowers. Then simply lift each layer and scrunch and slightly twist each flower.


It should resemble this once you've finished.


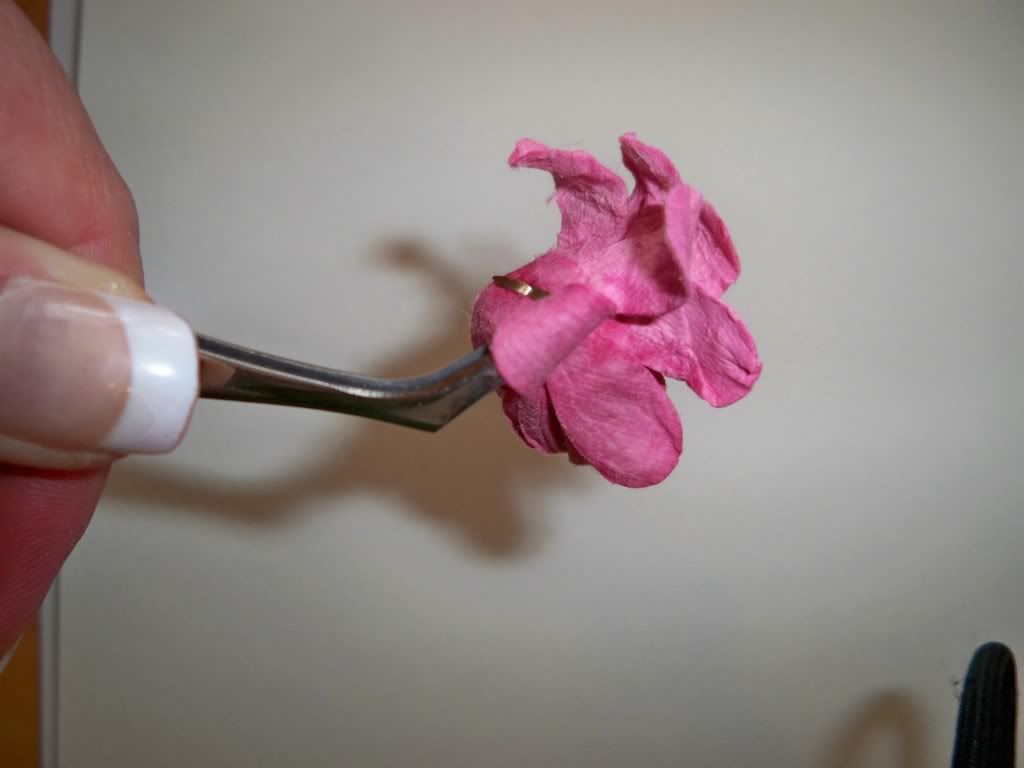
Finally, hold the flower carefully with the tweezers and give it a blast with the heat gun. Carefully curl and peel back each petal individually - if it dries into a shape or position that you don't like then simply re-wet the paper. Also, be careful not to hold the gun in one place for too long as the paper will burn.


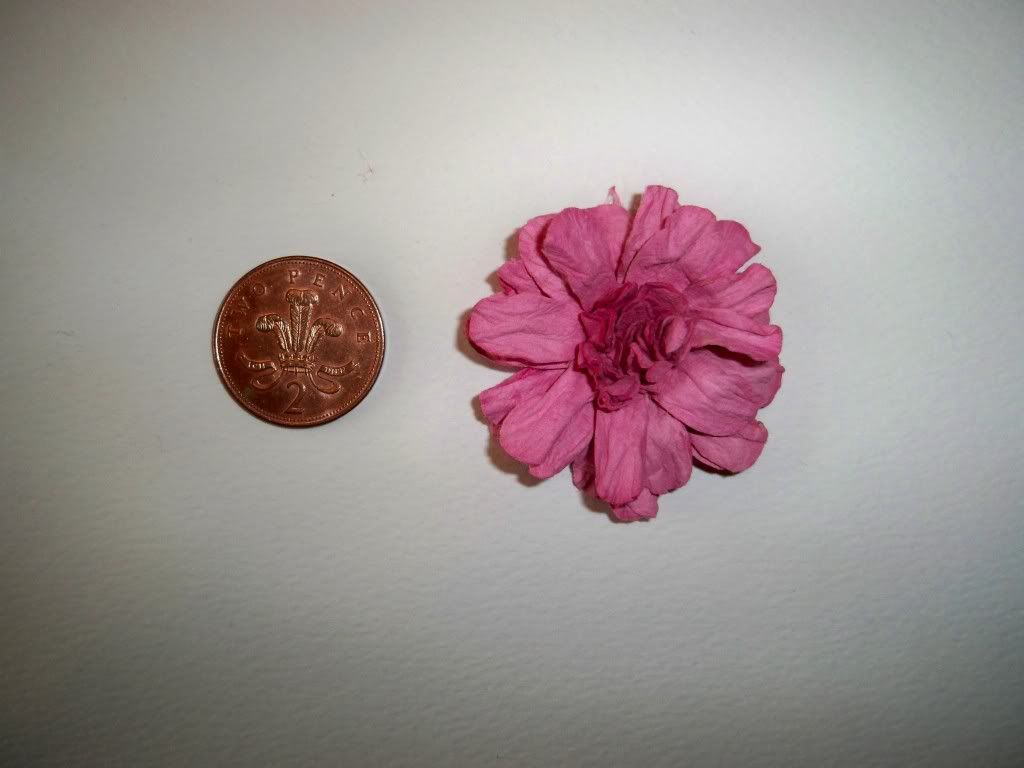
Here's the end result, one paper Chrysanthemum ready to use and decorate as you please.

Related Posts Plugin for WordPress, Blogger...