As far as challenges go, I can definately say this was my hardest! Not only did I have to contend with issues of self doubt, but fate and finance stepped in my path! I was printing the image out on my printer when it decided to die, no amount of tapping, prodding, shaking or shouting revived it, so I had to purchase a new one. I knew where I wanted to go with this card, but lack of planning and finance meant that I didn't have the equipment to produce the pieces required, so I've improvised! The flowers, butterflies and leaves have all been hand cut and/or drawn as I don't possess multi-sized flower punches or a butterfly/leaf punch. I'd almost finished the card when I had my final crisis namely a Perfect Pearls explosion! The label which should've been on the lid was on the base, consequently, I opened it upside down and it went everywhere. The stuff is a nightmare to remove, so anyone for a pair of gold lame style jeans??
So, finally onto the card!
Side View
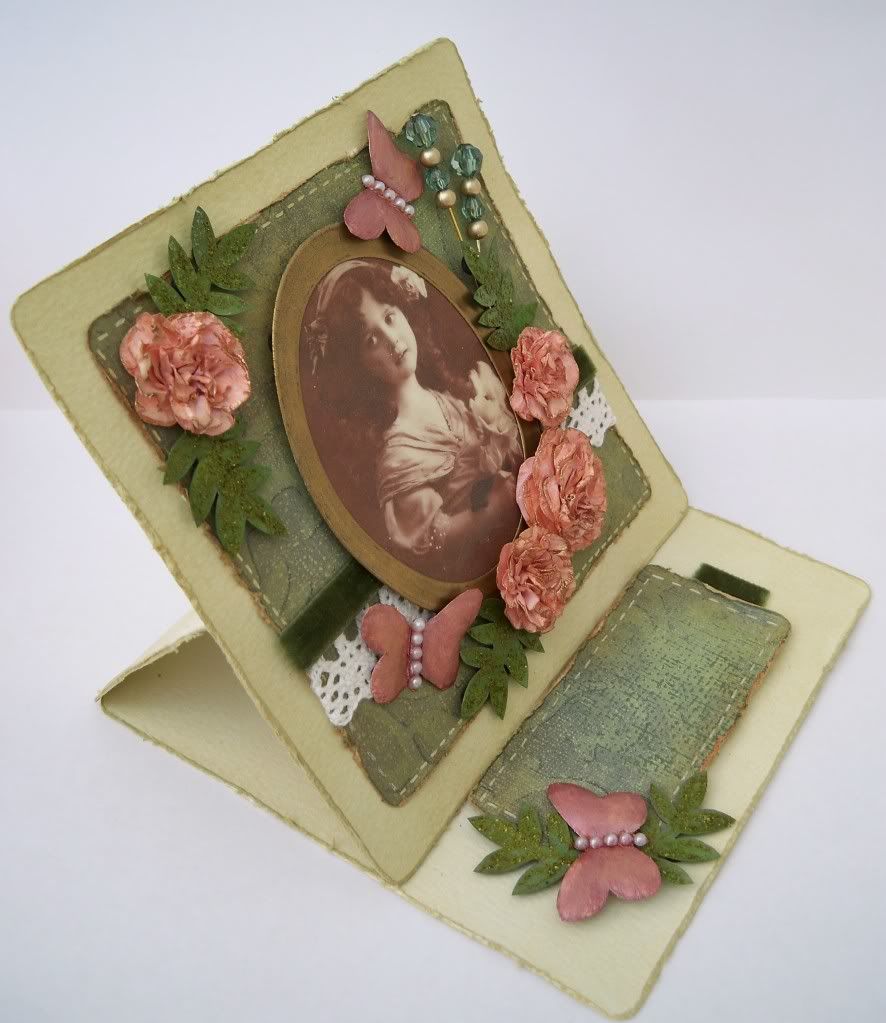
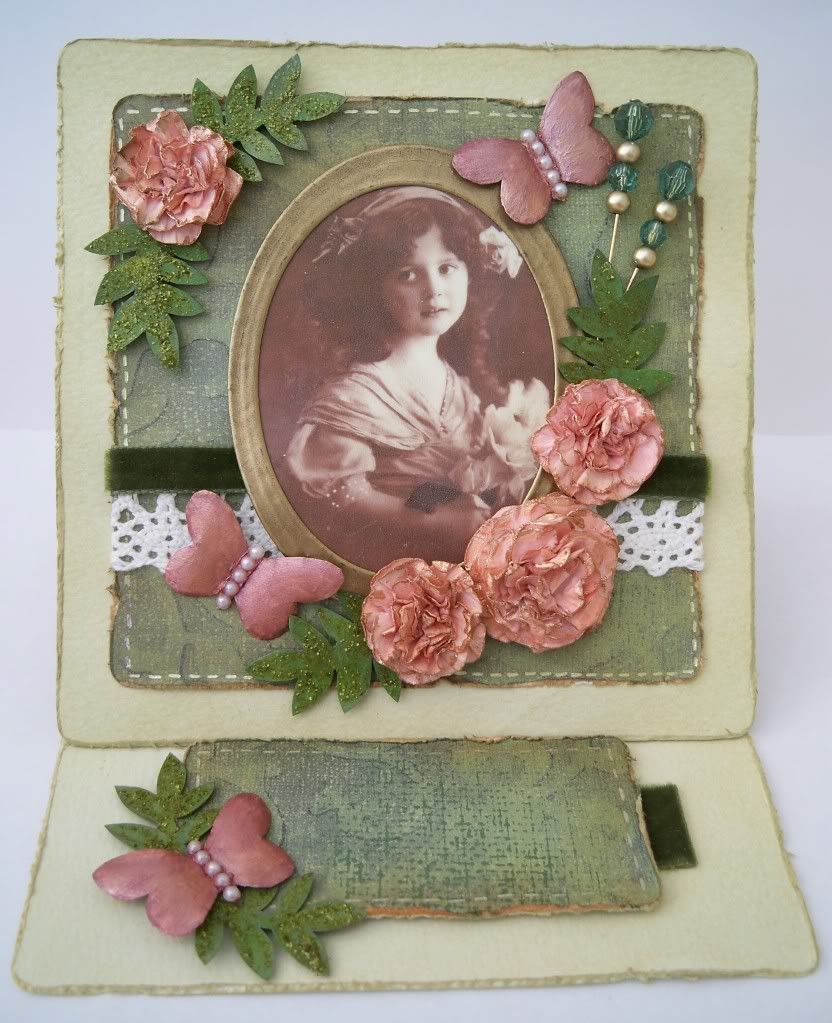
I decided upon an easel card as my base, mainly because I love easel cards, but also because this card was going to be embellishment heavy, so I wanted a sturdy base. Once I'd made the base card, I rounded the corners and then distressed the edges using the Tim Holtz Distressing Tool. I then applied ink to the card with the TH Blender Tool and Distressing Inks. The background paper has had the same treatment.
The image has been resized and recoloured and then triple heat embossed with Heat It Up clear embossing powder. Once embossed, the image was placed in the freezer for ten minutes and then bent and stretched to give a patina effect. I know it would've been easier to use UTEE, but it would meant buying it online and taking a chance that it would arrive on time.
The frame was cut using Large Oval Nestabilities, then triple heat embossed with Heat It Up gold powder.
The embellishments have all been made by me. Oh and there's no sentiment on this card at the moment because I haven't fully decided what I'm going to do with it. Not sure wether to use a quotation or simply add happy birthday! Either way I will be using Letraset Safamat to create a rub on. I did think about photo - shopping a sentiment, just for the photo, but decided that would be cheating.
Materials
White card from The Papermill
Paper - K&Co Green Ivy Flat Paper
Image - from here
Frame - Heat It Up Gold Embossing Powder
Headpins - made using this tutorial
Flowers based upon this tutorial. I didn't have any flower punches and my Nesties were too big, so I found a flower digi stamp manipulated it to the sizes I required, printed out a sheet of flowers and then cut out multiple copies. The edges have been dusted with Gold Perfect Pearls.
Leaves - template drawn using a punched shape from a card sent by a friend and cut from white cardstock, coloured with Promarkers, then coated in Distress Stickles.
Butterflies - template drawn by hand and then painted with pearlescent paints
Lace and Ribbon from stash
Xyron Sticker Maker Machine - I used this to secure the lace to the card.
Stitching - Gold gel pen
Flatback Pearls - from stash
I'd like to enter this card into the following challenges:
Simple Doodles - Not a spring chicken anymore
Crafts & Me - Sparkle
Cute Card Thursdays - Make your own
Dutch Dare - Repeat something (BP, butterflies and flowers)
Creative Inspirations - Easel card
Pixie Dust Studio - Picture for inspiration
Pollycraft Monday Challenge - Make your own flowers
Charisma Cardz Challenges - Girly card with flowers
Digi Doodles - Anything goes
Dare you to digi stamp - Flowers (used a digi stamp for the template)
Daring Cardmakers - Easel Card
Stamp Scrap & Doodle Saturdays - Easel Card
The Crazy Challenge - Bling Bling
Incy Wincy Designs - Anything goes